

With so many options out there for stuffing our craft projects, it can be tricky to figure out which one is right for which project. Everyone knows my favourite is sheep wool stuffing and I'll get more into that below. But there are a few other options out there, each with their own pros and cons but after reading this post, I hope you feel like you can make the right decision for your craft project!
Basic Polyfil Stuffing
Inexpensive, easily accessible, and by far the most common stuffing type out there, but is it the best choice? For me, it's definitely not!

We are becoming so environmentally aware, it's almost tragic to consciously choose polyfil stuffing with so many other options out there. It's also the most challenging to work with for small, detailed curvature, which is most of what I work with. Have you ever tried to stuff a small corner of a project, only to have your stuffing tool blow through the stuffing rather than "stuff" it? That's because there's so little structure to the polyfil. I do have a technique I use to help with this, I outline it below!
Polyfil is lightweight, I agree however I feel like it's "too" lightweight. It's got so little weight to it, it can make your project feel cheap when you go to pick it up. We sometimes associate the weight of an object with a perceived sense of quality. I like my dolls and ornaments to have some weight to them, it gives them a quality feel.
 Point - this image is of me as a young Sew-ist (, so happy after completing three little mice in the late 80s, early 90s. As you can tell from their outfits and what I thought at the time were fabulous colour choices, they have likely since headed to a landfill somewhere as they are sooo super dated!!
Recycled Polyfil Stuffing
I'm new to this one - it's similar to working with regular poly-fil, it's got a bit of a slippery, airy feel to it. it's dreadful to work with if you are working in tight corners (stuffing tools tend to blow through it). The positive is it is (at least at our local fabric shop) priced slightly LOWER than the normal stuff! The downside? Well, it's a bright green colour. I suppose it's those tinted pop bottles that are recycled that give it that hue, which is just something to consider if you'll end up with a greenish tinge to your finished project!

I managed to pick a good amount of it up last fall at a half price sale, and since I'm in doll-making mode at the moment I'm giving it a go. It definitely is not a favourite to work with but it works well for stuffing large cavities and at least I know I'm diverting some plastic bottles out of the ocean! Interesting to note- this particular one the bottles come from Taiwan but the fibre is processed in Canada..
 with plastic bottles taking up to 450 years to breakdown in a landfill, you can at least garner some comfort in the fact that you're re-using a product!
Sheep Wool Stuffing
I don't think it's a surprise to anyone that my absolute favourite stuffing to work with is Sheep Wool.

It breaks down naturally in the environment, it is easy to stuff with using virtually any stuffing tool, has a great "weight", it's not lumpy when you stuff, honestly the advantages go on and on!
I especially love it because the current one I'm working heavily with is from a local, family-owned business (Revolution Wool Company) that has an incredibly ethical practice, and their wool quality is just fabulous!
Imagine for a moment you are working on a small stuffie for a fun dog toy - if that toy breaks open during play, sheep wool stuffing is pretty harmless when you compare it to poly-fil which is essentially...plastic.
Really it's only downside is it is by far the priciest. In my larger dolls a good amount of the cost comes from what I'm stuffing the doll with. So I can understand that alone can be limiting for people, which is why I have a couple of other ideas listed below!
Re-Purposed Stuffing from Old Dolls

You could consider this both an economical and environmentally friendly choice!
It's a little bit of work at your end, but you know that old pillow that's too worn out to donate? I bet it's filled with a stuffing you can re-purpose! Think about what's around your house that is no longer in a condition to donate, but you could re-use the stuffing and re-make it into something amazing!
Fabric Scraps

Fabric scraps are great, but do not work for every project. They are going to be your heaviest weight stuffing (not necessarily a bad thing), but the real trouble is they are challenging to work with if you are looking for a smooth finish. Even if you cut those scraps up really small, you're still not going to get that smooth look that you would with all of the other options.
That being said, think of how that interesting texture may lend itself to certain
 projects and run with it. I really like to save my scraps in their own bin in the sewing room, and when I have a good amount I use them to stuff my little Rustic Trees I make and sell at Christmas! They work super well for this because the weight helps keep them standing in a sturdy manner, and the lumps actually add a lot of character to the painted trees, a win-win!
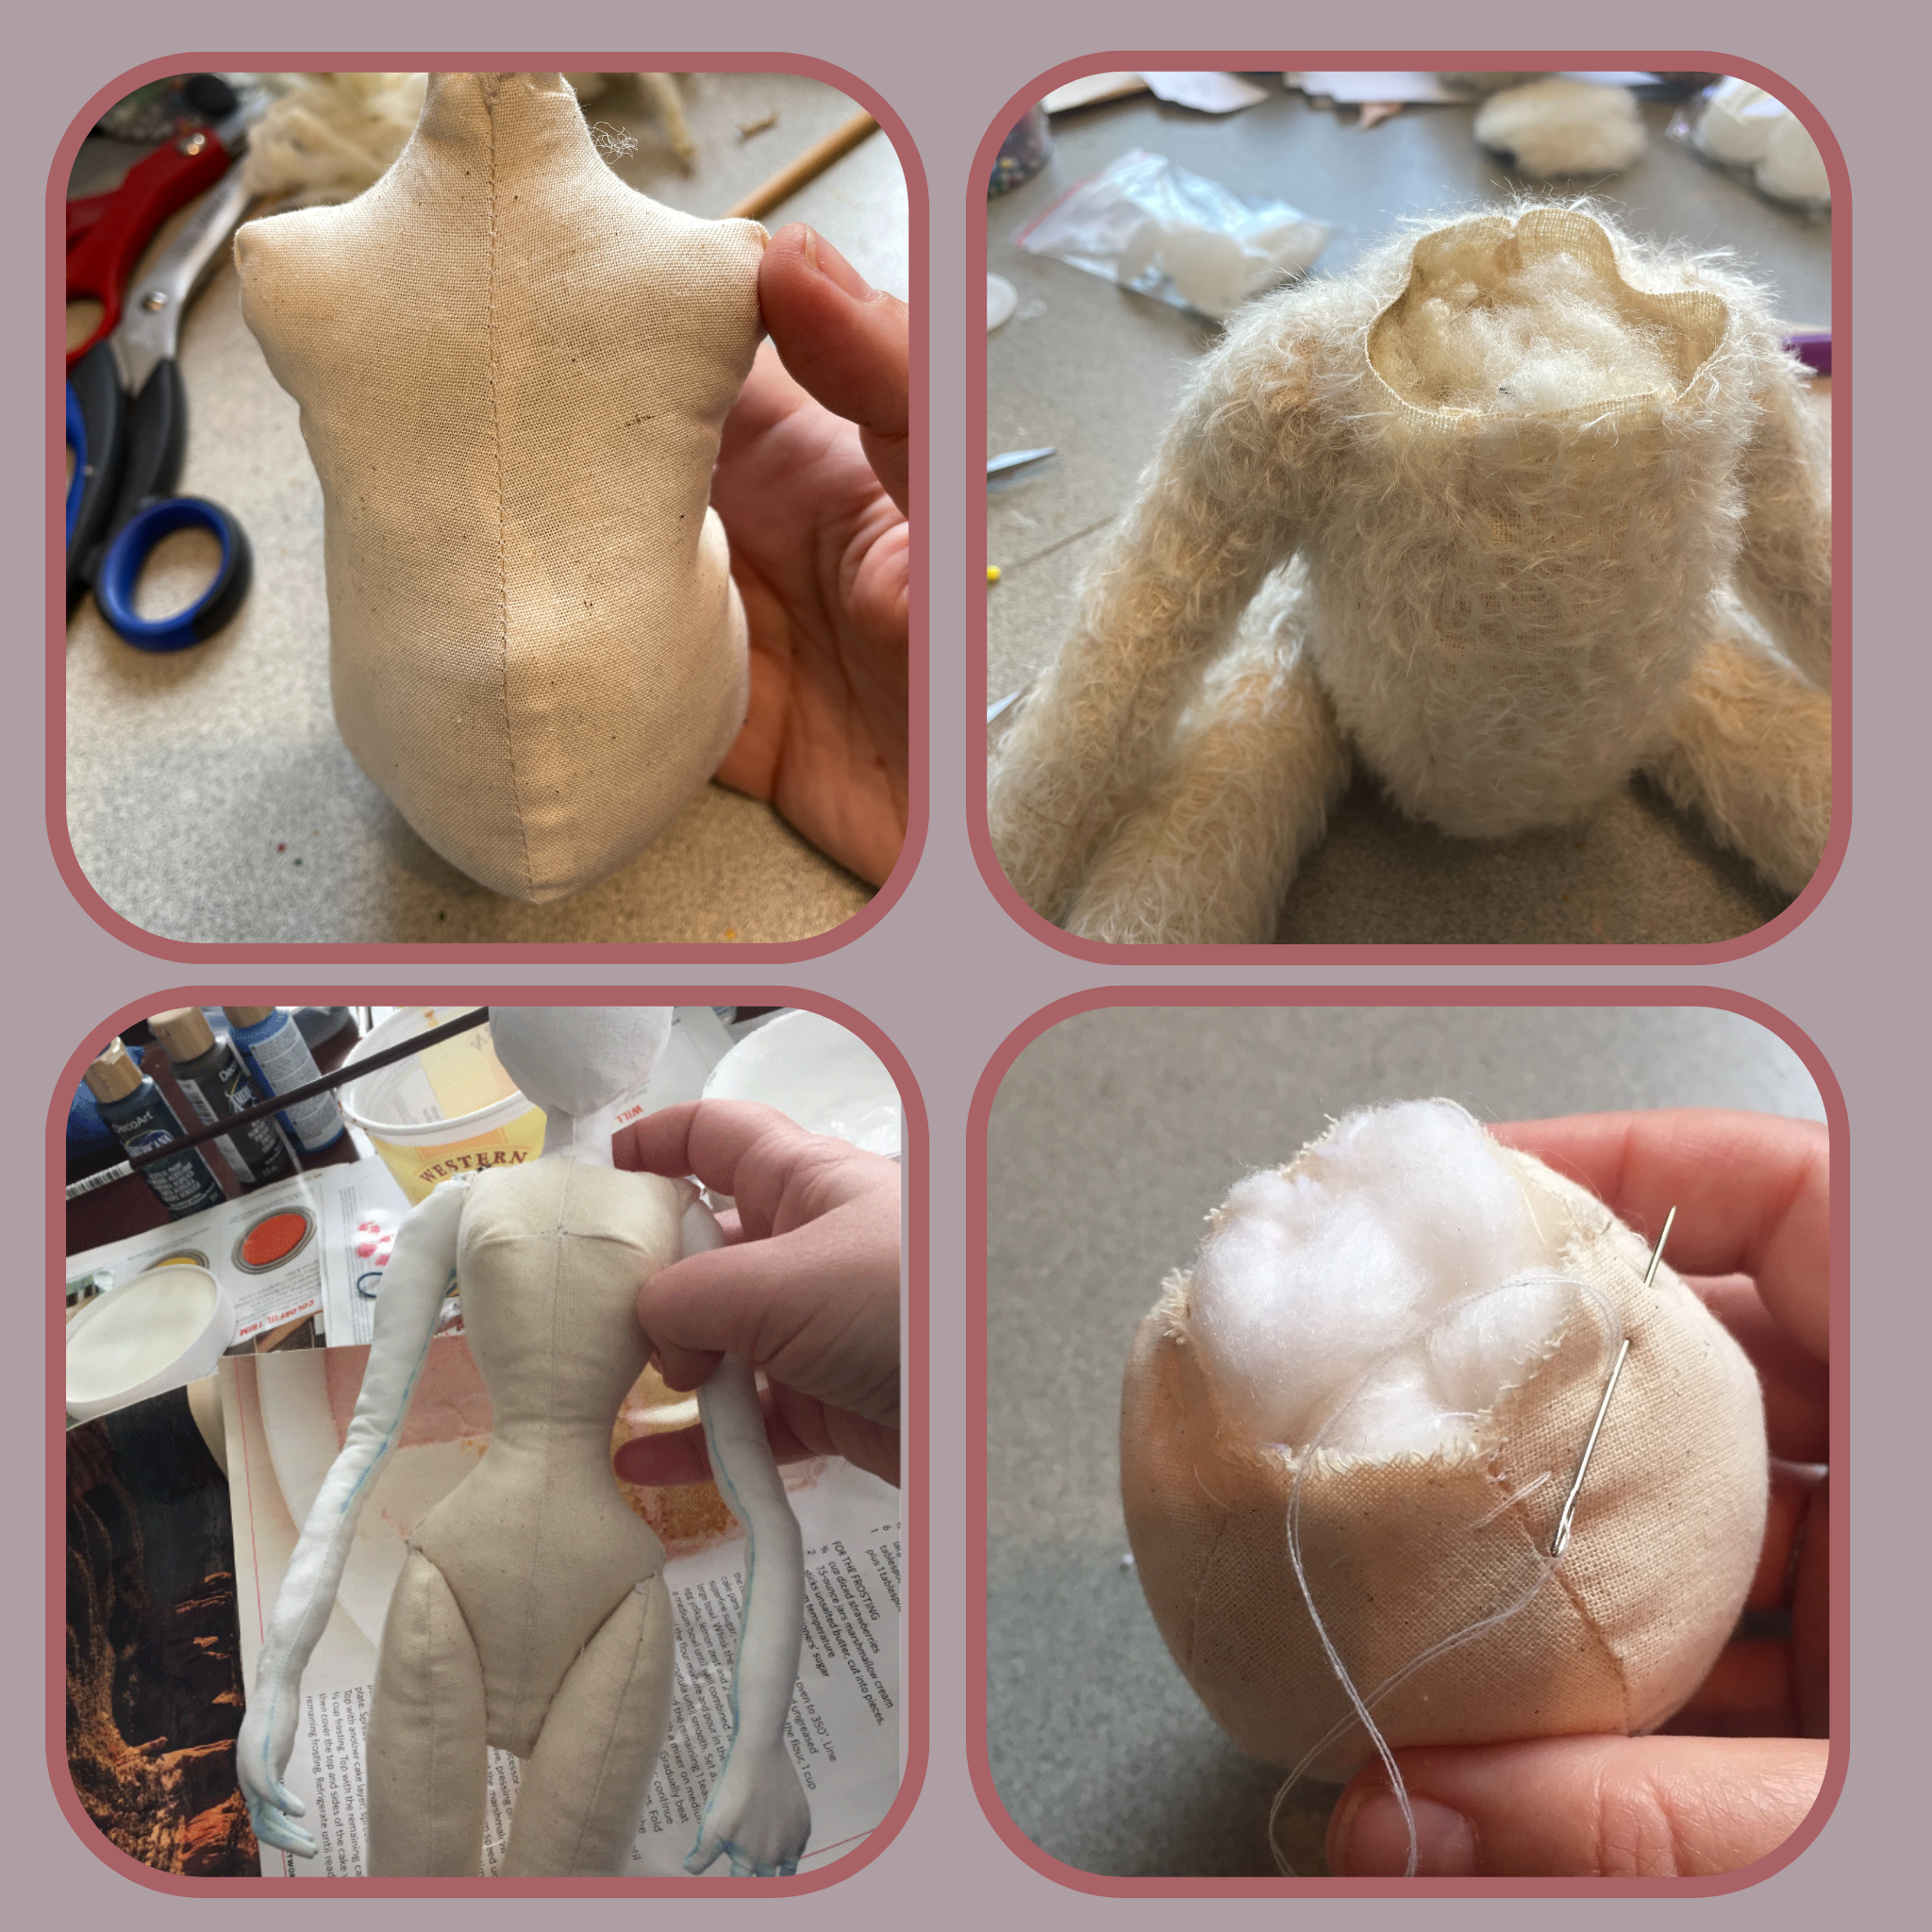
Stuffing Techniques and Useful Tools
Believe it or not, there are techniques Crafters can utilize to result in a professional, expert stuffing job. I know, it sounds a bit silly but honestly with all the work you put into the sewing, if you end up with a poorly stuffed figure where one side looks different than the other, or the stuffing isn't making it's way to all the little crevices and corners, or weird lumps are happening all over the place..well, if that's a concern, let me give you some ideas how to deal with everything from the basic to a complex stuffing job!
1. Stuff using small amounts. If you stuff with a larger amount, it's much harder

to get a smooth and even finish. This is equally important when you're stuffing a complex shape as it is when you're trying to stuff a figure to get both sides looking equal. You'd be amazed at how a large hand of stuffing can result in a lopsided looking figure! Take your time with it!
2. If you are working with VERY small corners and crevices that need filling, once you get the stuffing just right, secure it in place with a pin! It will keep the stuffing from coming out of the crevice before you can add more stuffing in behind to reinforce. I use this technique a lot when I'm making my Santa Heads.
3. Consider mix & matching different types of stuffing based on what your needs are. For example, I ALWAYS stuff my heads, arms and legs with sheep wool stuffing, it's just the easiest to keep in place and it stuffs very firmly.
However for my Harriet dolls I'm currently using the recycled pop-bottle stuffing for the body. It's a very simple shape to fill so the slippery stuffing doesn't annoy me, and the finished body is coffee-stained and then hidden under clothing so you don't notice the hint of green through the fabric! By doing this you can get the best of both worlds - save a bit of money, and even on the weight if your items getting just too heavy with all sheep wool.
4. Twist and twist again - if you are soley working with poly-fill, you will find it incredibly frustrating to find a tool to help you with stuffing, that doesn't blow through the poly-fill - the fibres are just so weak! What DOES work, is if you take a small bit of stuffing, and twist it and roll it around to give it some structure, THEN try to stuff with it. That is usually enough to give the tool something to work against.
5. If you're stuffing something like a torso or ball that you're really trying to keep uniform, it works well to at first stuff it fairly loosely, then open up a hole in the centre (with your stuffing tool) and continue to stuff it from the centre. That will really help keep your stuffing job nice and even!
6. How much to stuff? That's pretty subjective! I tend to go for a firmer stuffing of sorts except in a few cases. When I'm doing upper arms and thighs of a doll that I plan to use a thread joint on, I'll under-stuff so the arms have better movement. I'll also under stuff if it suits what I'm making.
Stuffing Tool Ideas

There are many options of stuffing tools, some you can buy, others you'll find lying around the house! I love That Purple Thang, it's got a great shape to it and is very useful for small items and corners. Some people use hemostats, I tend to use them for removing stuffing from awkward places, but I rarely reach for them when stuffing.
The eraser end of a pencil works well because it's not pointy, the blunt end of a bamboo skewer, I often reach for the rods of my turning tubes for this!
Things with very pointed ends like a knitting needle will be hard because they will want to poke through the stuffing rather than stuff it. Anything that's kind of rod-like shaped with a dull end should work well.
For larger projects, your fingers make great stuffing tools!
So in Conclusion..
I hope I have helped you feel confident in choosing the right stuffing for your project, and given you an array of stuffing techniques that will help you on your way